Showing posts with label glitter. Show all posts

December 15, 2012

week 11: glitter

Today is week 11 of the 52 week challenge! This is sooo late because the week started on Sunday the 9th, but oh well! The theme is GLITTER!!!! So of course, I had to use as many glitters as I could on one nail... I tried to find ones in my collection that have similar colors. So basically I just picked out the silver with rainbow ones. I would call this a 4-glitter gradient.


I started with a silver polish. This is Smoldering by Revlon.


I basically just painted/dabbed each glitter polish in uneven stripes on my nail. I started at the cuticle with the finest glitter first. This is Glistening Snow by China Glaze.


Next came Ray-Diant by China Glaze. This is one of my favorite glitters.


Next, Pizzaz by China Glaze. This one is new with the winter season. pretty similar to the one above but a little larger glitter pieces.


Now for the largest glitter! This is Pinata-yada-yada by Ulta. I had to do another coat after this picture below because there was a lot of silver still showing.


Heres one more pic... If I ever do this again I would just do 3 glitters and ommit the first one (Glistening Snow). It was the only one that had more of a bright white tint to it. The other 3 glitters had more of a yellowy silver tint.

December 13, 2012

Combo: Moonraker + The Living Daylights


The poilshes used in this combo are both OPI colors from the Skyfall collection. I think they are my two favorites from the collection actually. Maybe with the exception of the 18k Gold one of course haha. I thought these two just looked fabulous together!

The aqua-silver is Moonraker by OPI. This one took 3 coats to perfect. The first two coats went on very stripy and you could see the brushstrokes. So I basically did 2 really thin coats so they dried quickly and then one fairly thick and even coat to finish.


The glitter is The Living Daylights by OPI. For this large hexagonal glitter I tried to dab on one coat as evenly as possible then I went back in after the first coat of glitter dried a little and dabbed in some more glitter in the empty spaces. I wanted the glitter to be sparse enough so you could see the beautiful Moonraker underneath!


December 2, 2012

Week 10: winter


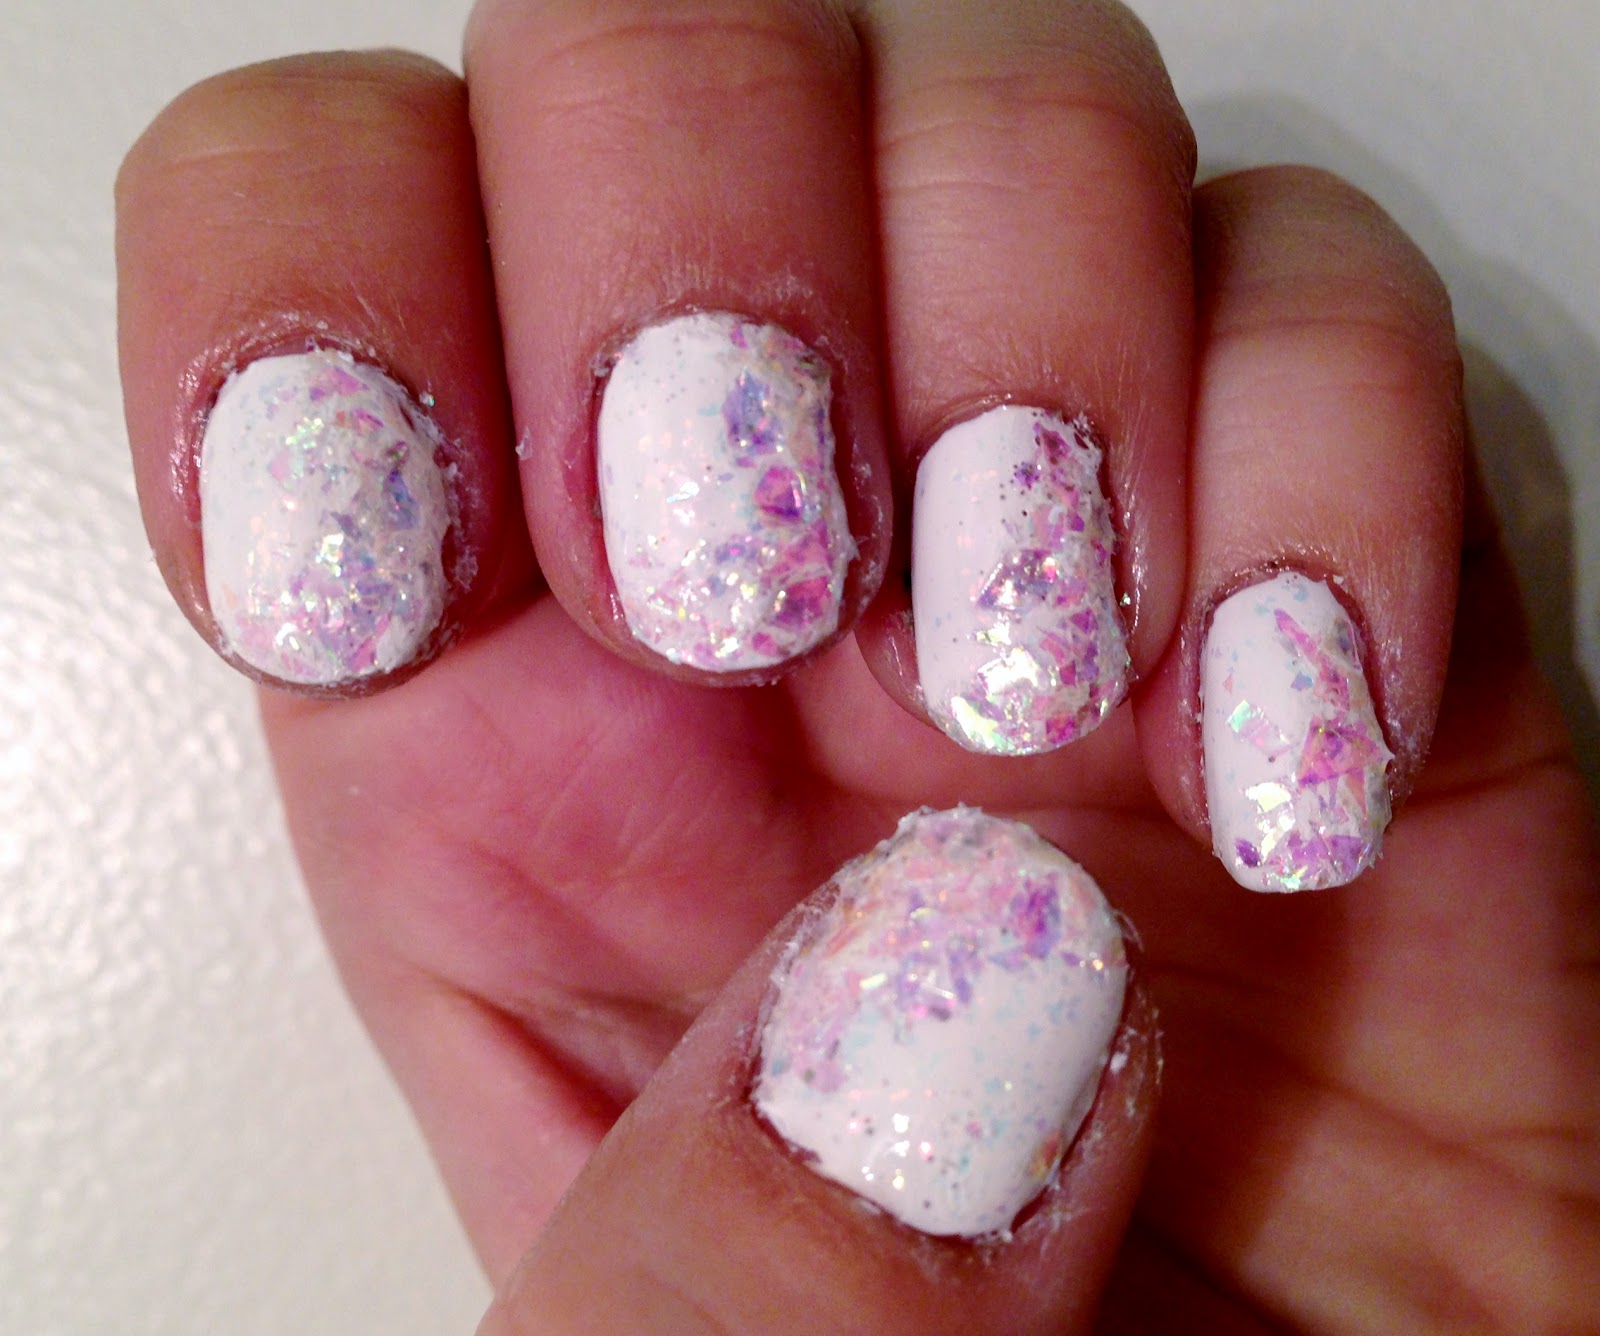
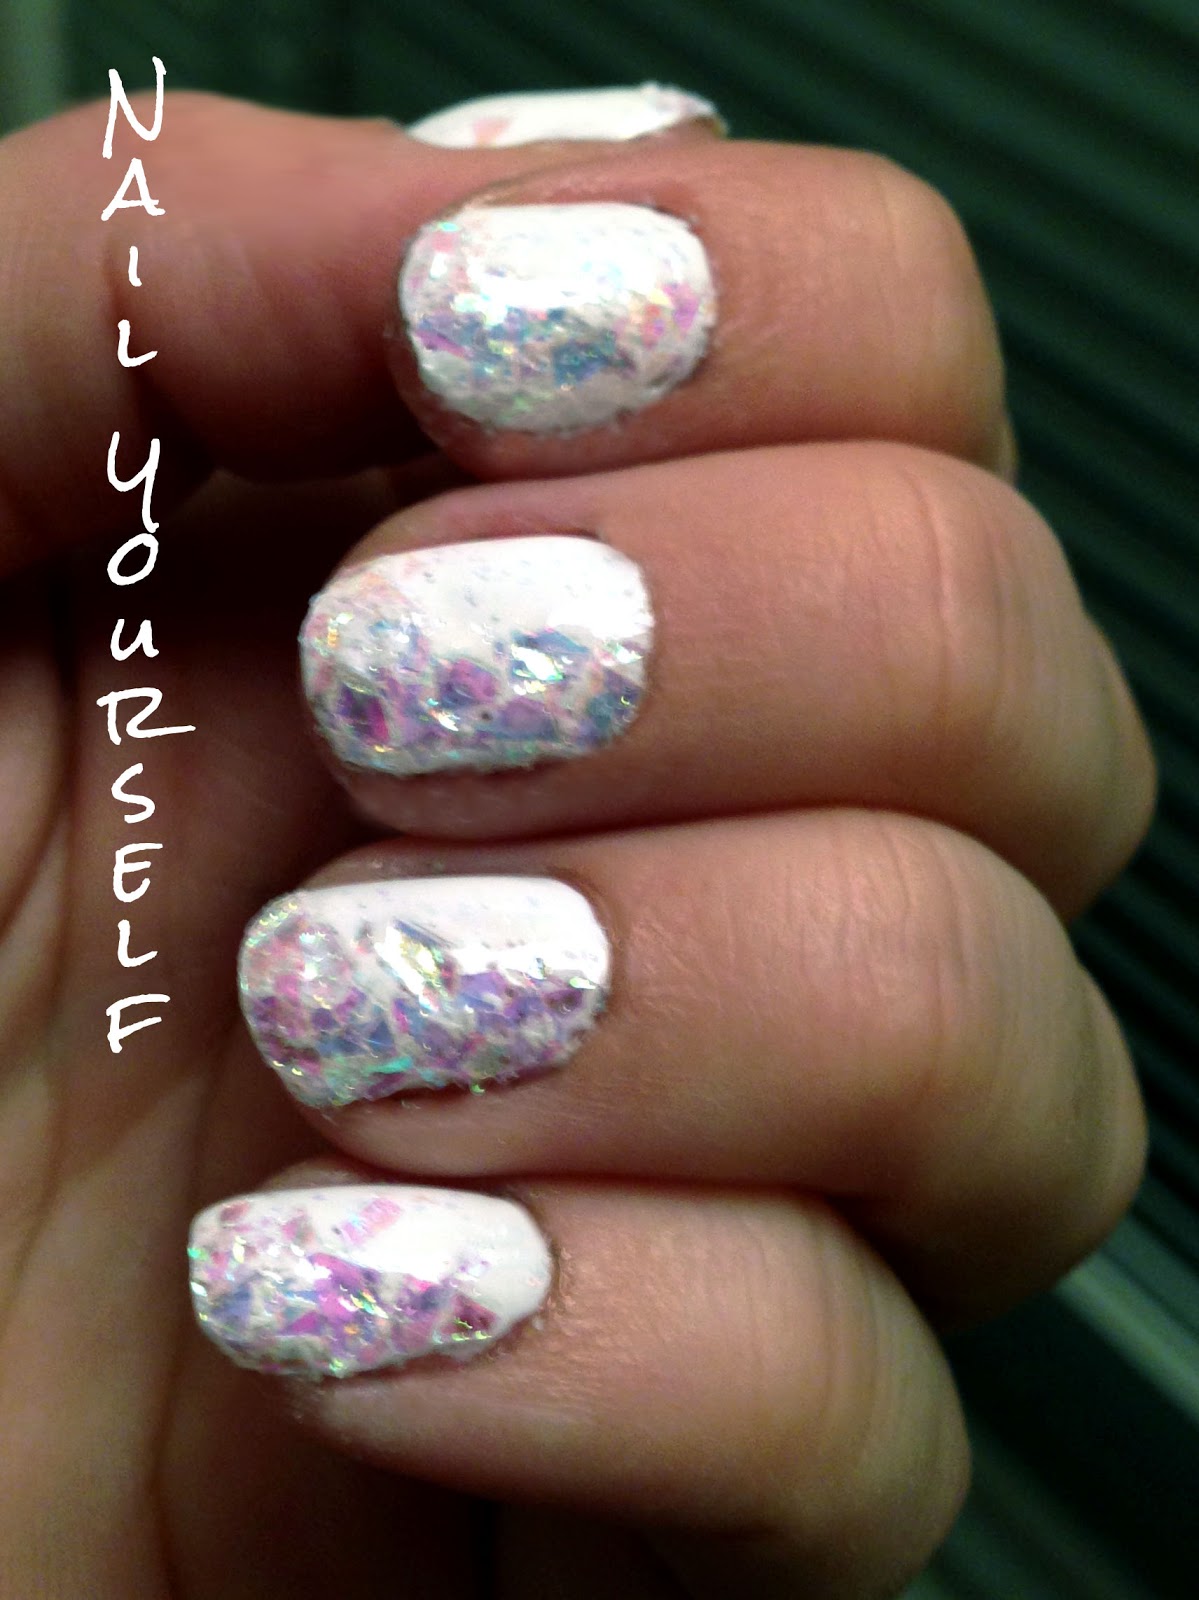
It is week 10 of the 52 Week Challenge and the theme is Winter. The inspiration of this mani was cracked ice next to snow, kind of like the edge of a frozen pond.

Step 1: Paint nails white


Step 2: paint a coat of Snowflakes by Color Club (or Shine of the Times by Essie)


Step 3: Use clear nail polish to paint a half moon shape on your nail then place glitter immediately to that half moon of polish.
(this loose glitter is from Sally Beauty Supply and it is called Cracked Ice in Mother of Pearl by So Easy) 


Step 4: Paint on 2 thick coats of clear topcoat.


November 8, 2012

Combo: Smoldering + Fowl Play

Yesterday, I was having a very hard time being inspired nail-wise. So I picked up a few polishes, walked over to my boyfriend, and asked “Which of these goes together well?”. I just love him. His response was, “Well, these two don’t ‘go together’, but I think they would look cool together”.  So this combo is all because of him, Thanks babe :). I think it turned out great!

First/Base Coat:  Smoldering by Revlon. This silver is really pretty because at first glance it looks like a plain old metallic silver, but when you move the nail you can see a little pale pink duo-chrome goin’ on.

Taping! This is just a simple vertical taping. Same old drill (Tape all of one hand, paint one nail, remove tape immediately, paint next nail, repeat…)


Second Coat: Fowl Play by Orly. I really couldn’t quite capture the beauty of this polish. It is so dynamic. It is a dark purple with a flaky pink and red glitter. I can stare at it all day!

Top Coat: Matte About You by Essie. I loooooove Fowl Play with the matte coat on top. You can see it better and it looks very modern.

Here’s some more pics!

November 4, 2012

Combo: Fresh Winter Snow

Ugh I am so embarassed. I had an old copy of the schedule so I thought that week 6 of the 52 week challenge was winter, but it is not! Whoops, it is actually "Inspired by a Game" so I guess I will have to do some new nails tonight! Darn it... the one week that I actually did it early haha oh well. Here's a pretty sparkly pale blue combo!

It's not quite winter weather yet here in the Chicago land area, but hey this combo is still pretty to look at :). I went for a simple combo of polishes to make a fresh winter snow look.


First polish: 2 coats of a pale blue or white polish. I used "I Vant to Be A-lone Star" by OPI


Second polish: 1 coat of a sheer, iridescent polish. I used "Rainbow" by China Glaze


Third polish: 1 or 2 coats of a pearlescent glitter. I used "Make a Spectacle" by China Glaze


Here's one more pic, but the one at the top of this post definitely looks the best on how this turned out.


October 30, 2012

Technique: Sparkly Pumpkins + Week 5: Orange

So this is kind of a combined post. Theme of week 5 of the 52 week challenge is ORANGE annnnnd I did a new nail art/technique, hence the long post title :). Here are my sparkly Halloween pumpkins! I usually steer away from any nail art that is too corny looking, but I just love these little cute pumpkins for Halloween. And it really wasn’t all that difficult to do!


First I did a coat of Peachy Kean as a base for the sparkly orange. I don’t have a picture of that, but any orange color would have worked as a base. On top of that I used Fall of Surprises! by Finger Paints. This is two thick coats of it:

So here is 3 pics of how I did the mini pumpkin tips. I did all this black nail art with a nail art polish (has a thinner brush). You can see my critique of nail art tools here.

1. Draw a vertical line in the middle of your nail. This is so you know where the middle of your pumpkin will be. It helps avoid having a crooked and uneven pumpkin.

2. Draw your two humps. I found it easiest to start from the vertical line I drew first, draw half a hump, then start at the edge of the nail and draw the other half of the hump. Then repeat with other hump. Hope that makes sense haha.

3. Then fill in the rest of the area with the black nail art polish.


After that I added a cute little green stem (also with a nail art polish) to these mini pumpkins.

For the thumb, I had a bigger canvas so I did a jack-o-lantern instead of a mini pumpkin.

The right thumb jack-o-lantern doesn’t look this good, but it doesn’t look bad. Just did a smile instead of teeth and did the best I could for triangle eyes on my right thumb. No sweat!

Here is one more pic with the nail art polishes I used! Love this festive look :)

October 24, 2012

Combo: Mint + Whimsical

I love love love this combo. It looks like frosting and sprinkles or some sort of dessert. I just want to eat it right off my fingers!

Colors I used are: Re-Fresh Mint by China Glaze (base coat) and Whimsical by Revlon (Deborah Lippman Glitter in the Air dupe!)

I did this combo because I was not too impressed with Whimsical by itself. Here is a picture of Whimsical without the mint base coat… this is 3 coats of Whimsical too!

So here is Re-Fresh Mint by itself. A pale blue opaque/crème polish would also do the trick! This mint is more blue than green anyhow.

So in all it is 2 coats of Re-Fresh Mint and 2 coats of Whimsical. For the Whimsical polish I "dabbed" it on to make sure I got some nice hex glitter pieces on my nail.
Here is a couple more pics… Yummy!!

October 19, 2012

Combo: Indigo + Techno

So yesterday I was trying out a few different designs and none of them were working out. It got very frustrating. Here’s what I said to that: when all else fails, add glitter! So here is a simple combo of a pretty circle iridescent glitter and a pretty indigo.
The colors I used were,
Base: Want my Bawdy by China Glaze (Bohemian Collection)


Glitter: Techno by China Glaze


To apply the glitter polish I just made sure the brush was heavily saturated with the chunky glitter and dabbed at my nail, starting at the cuticle. To make the glitter sort of float up did a few lighter dabs farther up the nail. Pretty simple, and it doesn’t have to be perfect to look good. For some reason the indigo is photographing bright royal blue, but it is actually a little more purple than these pics show.


I love this dark indigo with the iridescent glitter, but this Techno glitter would also look great with a mint or light pink polish :)

October 15, 2012

Combo: Teal+Glitter+Matte

So I just broke my middle nail. It was a sad, sad day. I hate when my nails are different lengths so I had to cut the rest! So sad. So I needed a cute combo that looked good on my teeny tiny nails. I think the matte coat really made the Teal color look velvety. I love it! And Usually I don't like matte top coat on top of a sparkle/glitter polish but since this one was such a fine glitter... I made an exception :)


I did the teal on all nails first (Fly by OPI). Then on the 2nd and 4th finger I painted 2 coats of Kissy by Sinful Colors. Then to top it off one coat of Matte About You by Essie.


Tada! there you have it. Simple but very attractive combo.

October 4, 2012

Combo: Fall Flecks

So the whole point of this blog is that the nails *should* be easy enough for you to try yourself. I'm all about struggling through a manicure and then posting my tips/techniques/critiques so my readers don't have to suffer with what doesn't work like I did. However, sometimes I just find a nice combination of polishes that look good together that I want to share and then I think "wait a minute, that isn't a tip, technique or critique....so I can't post it"

Therefore, I decided to add a new type of post... From now on, "combo"s will be posts that are simple and to the point with what polish colors I found look good together. Or maybe it will be an old technique I've already posted about with a new combo of colors. So here is the first COMBO post!!
  
I did this combo because I thought it looked very Halloweeny! I love Halloween and October in general so why not start with the Halloween nails a little early. Besides it's not like I'm painting a pumpkin on my thumb nail. Pretty fall flecks:
  
I have used this glitter polish before in this technique. It's funny how flakie polishes look completely different depending on what sort of base coat you use. On the technique linked above, the flakie glitter I used (Luxe and Lush) looks more diamondy and blueish silver. On the black I used in this combo it looks orange and green... Almost like copper metal flakes embedded in clear polish. Perfect for pumpkins! And on top of the black polish I think the glitter stands out more. Very Halloweeny/Fall like.

I hardly ever wear black polish so the base coat I used is just the solid black I've had for years. It's Beguiling Black by Maybelline Express Finish. Still worked pretty good though!


This is another polish that looks like orange glitter flecks when you paint it on a dark color. I know the polish looks pink but the glitter looks orange and green.