Showing posts with label 52 week challenge. Show all posts

December 19, 2012

week 12: Inspired by Song (Oh Christmas Tree!)


Happy Holidays everyone! It’s week 12 of the 52 week challenge and the theme is Inspired by a song. I ingeniously used “Oh Christmas Tree” so I could do some cute Xmas nails! Here are my Oh Christmas Trees including a step by step.

FYI all the polishes are from the OPI Skyfall Collection that my wonderful boyfriend got me for Christmas :) (even the 18k gold flake one!).


Step 1: paint all the nails red! This is The Spy Who Loved Me.


Step 2: tape triangles on a few nails. I did the ring and index finger with the tree facing away from me and the thumb finger with the tree facing towards me. Its just easier to display that way.


Step 3: Paint the green trees and remove tape quickly! This green is Live and Let Die.


Step 4: Golden accents! This gold is Goldeneye I used my mini dotter tool to make a star and a few ornaments. The star at the top was really not as complicated as I thought it was going to be. I just started with a large dot of gold polish in the center of the tree tip, then dragged it straight up. Then I did that 4 more times for the other points of the star. When you drag the polish, do this lightly to avoid digging into the existing polish.


Step 5: Purple and red ornaments! The purple is Tomorrow Never Dies and the red is The Spy Who Love Me again (base coat polish).


Step 6: Then, to add some extra fancy flare, I painted on some 18k gold flakes on my non Christmas tree nails! This is The Man With the Golden Gun.


So, there you have it. Oh Christmas Tree, Oh Christmas tree, how cute are you on my nails!?!


December 15, 2012

week 11: glitter

Today is week 11 of the 52 week challenge! This is sooo late because the week started on Sunday the 9th, but oh well! The theme is GLITTER!!!! So of course, I had to use as many glitters as I could on one nail... I tried to find ones in my collection that have similar colors. So basically I just picked out the silver with rainbow ones. I would call this a 4-glitter gradient.


I started with a silver polish. This is Smoldering by Revlon.


I basically just painted/dabbed each glitter polish in uneven stripes on my nail. I started at the cuticle with the finest glitter first. This is Glistening Snow by China Glaze.


Next came Ray-Diant by China Glaze. This is one of my favorite glitters.


Next, Pizzaz by China Glaze. This one is new with the winter season. pretty similar to the one above but a little larger glitter pieces.


Now for the largest glitter! This is Pinata-yada-yada by Ulta. I had to do another coat after this picture below because there was a lot of silver still showing.


Heres one more pic... If I ever do this again I would just do 3 glitters and ommit the first one (Glistening Snow). It was the only one that had more of a bright white tint to it. The other 3 glitters had more of a yellowy silver tint.

December 2, 2012

Week 10: winter


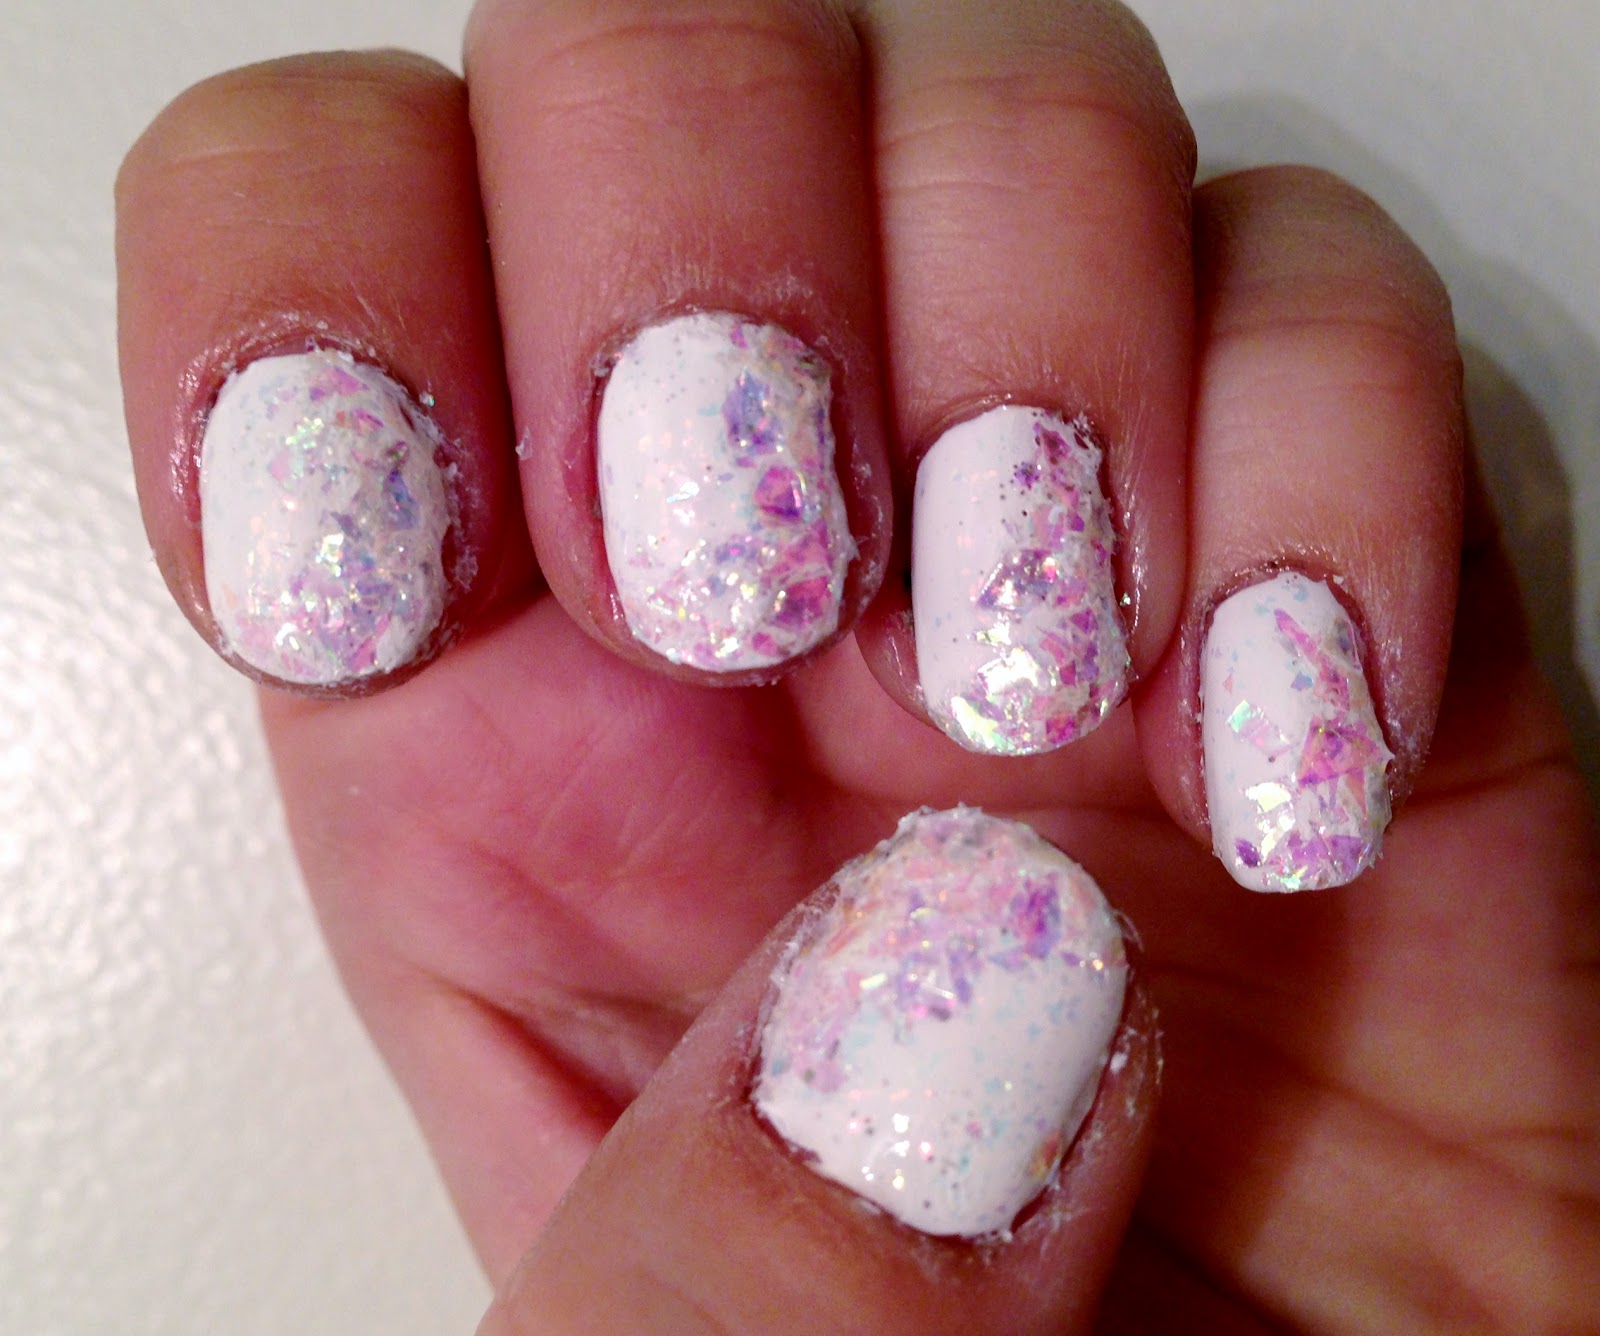
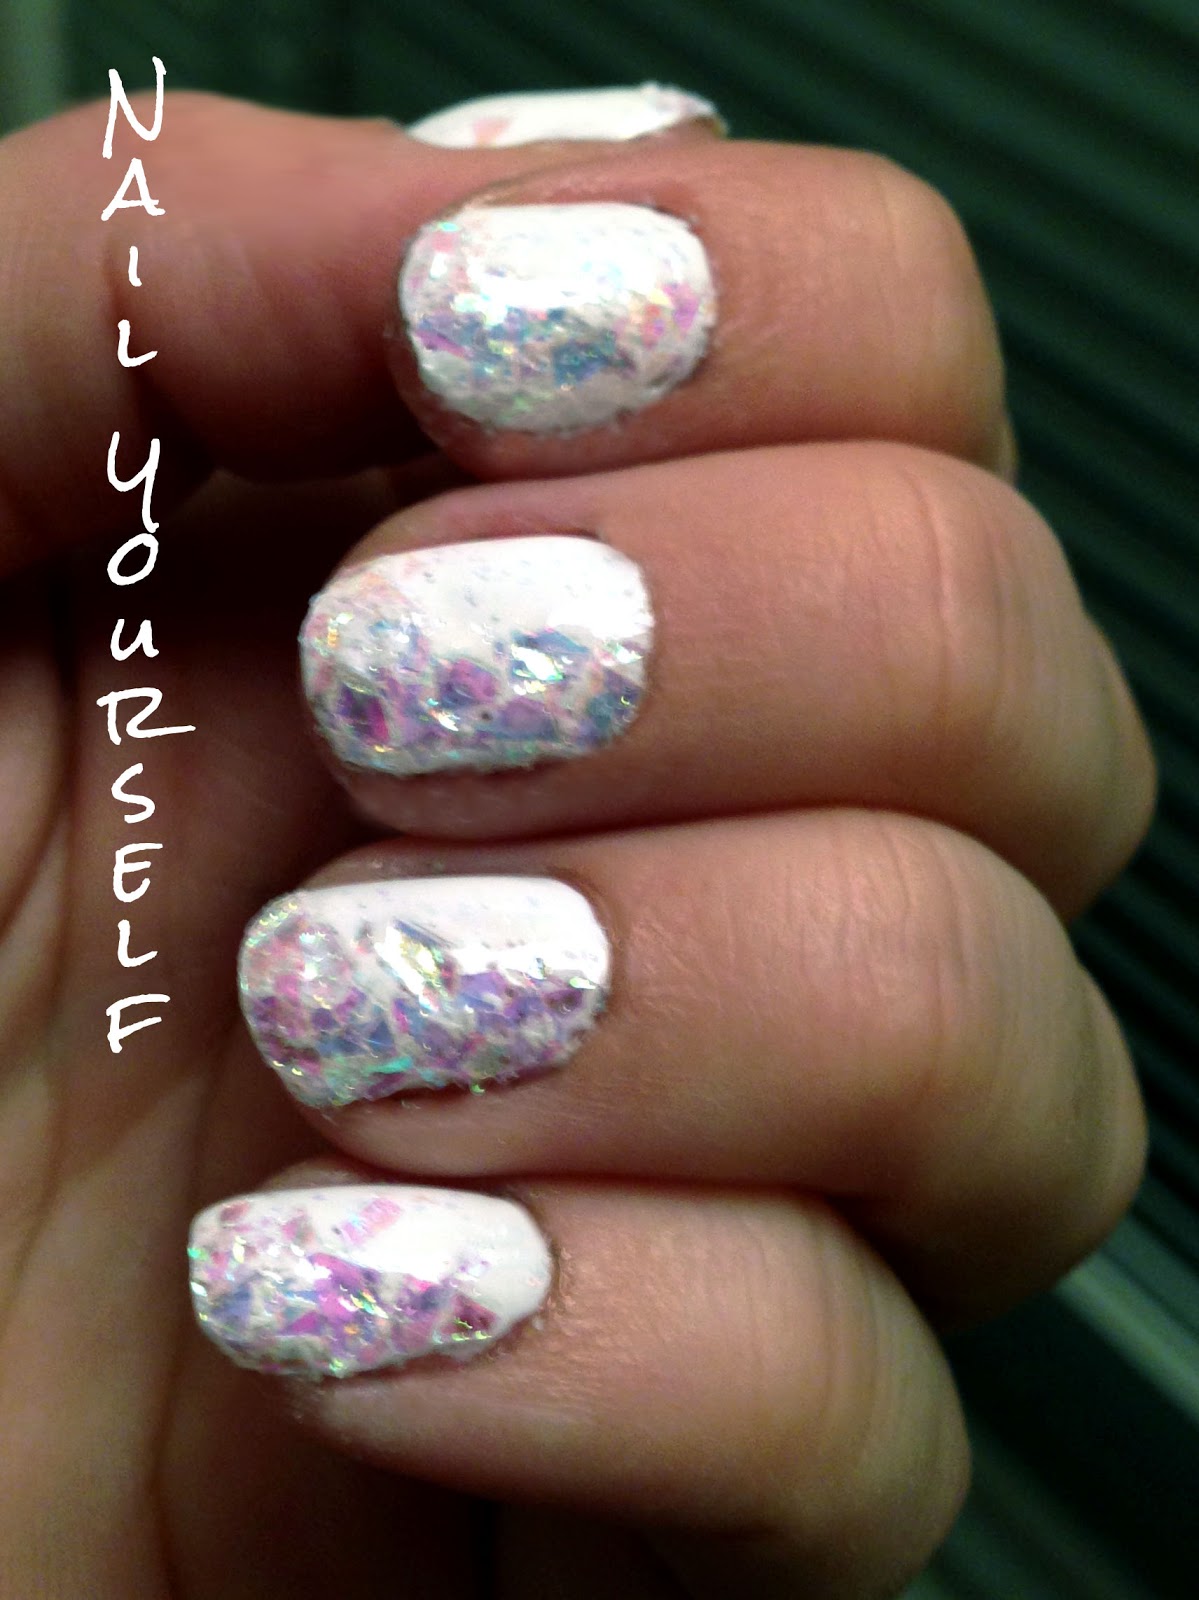
It is week 10 of the 52 Week Challenge and the theme is Winter. The inspiration of this mani was cracked ice next to snow, kind of like the edge of a frozen pond.

Step 1: Paint nails white


Step 2: paint a coat of Snowflakes by Color Club (or Shine of the Times by Essie)


Step 3: Use clear nail polish to paint a half moon shape on your nail then place glitter immediately to that half moon of polish.
(this loose glitter is from Sally Beauty Supply and it is called Cracked Ice in Mother of Pearl by So Easy) 


Step 4: Paint on 2 thick coats of clear topcoat.


November 27, 2012

Week 9: Rainbow


Week 9 theme of the 52 week challenge is RAINBOW. This is also the first time I have done this technique on my blog. I decided I'm calling this a dripping paint rainbow.

Just for fun, I painted my nails with matte polish first for a nice contrasting base coat.


So here is my set up: Polishes for the nail I'm doing, 2 cut off plastic cups (one with a couple drops of each polish and one filled with nail polish remover), a thin paint brush or nail art brush, and a folded paper towel.


Below on the left is the red. On the right is after I painted the light pink and hot pink. Not much to this technique. I just dipped the thin paint brush in the polish and painted some thin stripes of alternating lengths.  I did this once with each color, then repeated each color to get a sort of layered look.


In between switching colors, I swished the paint brush in the cup with nail polish remover then wiped it off on the paper towel. 


Here's all the colors I used! (I listed them all left to right)

For Red/Pink:  Burgundy Flirt by Rimmel London, I'm Indi-a Mood for Love by OPI, and Brushstroke blush by Finger Paints


For Orange/Yellow:  Harvest Moon by China Glaze, Peachy Keen by China Glaze, and Pull Over by Sinful Colors


For Green: Navigate Her by Essie and Kissy by Sinful Colors


For Blue: Want my Bawdy by China Glaze, Why Not by Sinful Colors, and I Vant to be A-lone Star by OPI


For Purple: It's an original by Finger Paints and No Plain Jane by China Glaze


phew!! That was exhausting typing all those polish names out. Here's one more pretty dripping rainbow pic!


November 21, 2012

Week 8: Cling Wrap Technique


This week is week 8 of the 52 week challenge and the theme is Saran/cling wrap technique. If you've never heard of it before it is pretty simple... I'll list the basic steps with additional tips to this technique are at the bottom of the post. In my opinion this technique is easy to do, but it is difficult to get colors that look good using this technique. Some combos can look just messy or dirty.


Base Color used: Champagne Toast by Sally Hansen

Basic steps:
1. Paint base color. 
2. Paint second polish on.
3. Dab crumpled cling wrap on nail.  

Second color used: No Plain Jane by China Glaze.


Tips:
- Let base coat(s) dry completely on all nails before you move on to steps 2 and 3.
- Do NOT let second polish color dry before moving to step 3. Do step 3 almost immediately after step 2.
- Do steps 2 and 3 on each nail right after another.
- Crumple up the cling wrap as tight as you can so you get a wrinkled surface like this.

- Your second polish must be a thick polish that doesn't dry two quickly. This technique only works if you can successfully pick up the second color with the cling wrap ball, and still get some to stay on the nail.
- Final and MOST IMPORTANT TIP: only dab the cling wrap 2-3 times. You want a nice balance of the two colors and more dabs will pick up too much of the second color and distort the design.

Overall, it took me a few tries to get colors that I liked together. I think I really only like metallic colors with this look. I tried solid grey and it just wasn't happenin.. looked too dirty and like I messed up. Here's one more pic with day light.


November 12, 2012

Technique: Create Your Own Ombre


Surprisingly, this is the first time I have attempted an Ombré. I guess I have been so involved in new and more complicated techniques so I haven’t attempted it. This week is the 7th week of the 52 Week Challenge and the theme is black and white. I haven’t done a black and white look yet, nor have I done an ombré so I decided to do this Create Your Own Ombré technique!

Basically the “create” part is just mixing some polishes. I really didn’t have the perfect colors for a black to white ombré so I created my own! Below are the 3 polishes I used. Black by Finger Paints, grey by Essie (not sure of actual name, woops!), and White On by Sally Hansen.

I started by painting these polishes by themselves on my pinky (White On), middle finger (grey), and thumb (Black). (sorry for the blurry pic!)

Mix 1: Then comes the mixing. For the ring finger color, I mixed equal drops of White On and the Grey polish. I used a cut off solo cup to hold the polish.

I just mixed it with the grey polish brush. You could use a separate brush if you are really worried about your middle color getting contaminated, but I made sure to drop all the polish I needed before I did my mixing. Then I painted both my left and right ring fingers this light grey color.

After you are done painting your ring fingers, wipe the brush you just used completely on a paper towel (do not use tissue or TP as that will leave paper residue on the brush). If you need to add a little polish remover to the paper towel, however I didn’t feel it was necessary.

Mix 2: Then I did the same thing as Mix 1, but with Black instead of white (equal drops Black and Grey). I then painted both my index fingers the dark grey mixed color.

Voila here is my black to white Create Your Own Ombré!!

Tips for the Create Your Own Ombré:
- Whatever you paint on your left hand, paint on your right hand immediately. This way is the most efficient and you don’t risk having mismatched mixed colors.
i.e. paint in this order: left pinky, right pinky, left middle, right middle, left thumb, right thumb, Mix 1, left ring, right ring, Mix 2, left index, right index.

- Make sure you make enough mixed polish to do 2 coats on 2 fingers. I used about 6-8 drops of each polish.

- For any ombré, make sure you use ALL crème or solid polishes or use ALL shiny polishes. It looks odd if you have a couple shiny/sparkly nail and the others are solid colors.

- Try to avoid sheer polishes with this technique! They will be very difficult to mix correctly and your ombré may not look just right.

- Here are some good 3 polish color combos that would work great for this Create Your Own Ombré technique.
       1. Red, Orange, Yellow
       2. Green, Blue, Purple
       3. Pale/light, Bright, Dark of any color.
Below is an example of a good light to dark blue trio. [Sea Spray by China Glaze, Dating a Royal by OPI, and Up All Night by China Glaze.]


This is super easy and fun! I will definitely be trying this many more times!!