I got the idea for diagonal 2-toned tips look
from one of my good friends Kaci’s stylish nails. A picture of the nails she
did is to the left. She did a diagonal two tone with nude and black on the ring finger. I thought
this look would look awesome on all my nails so I tried it out...
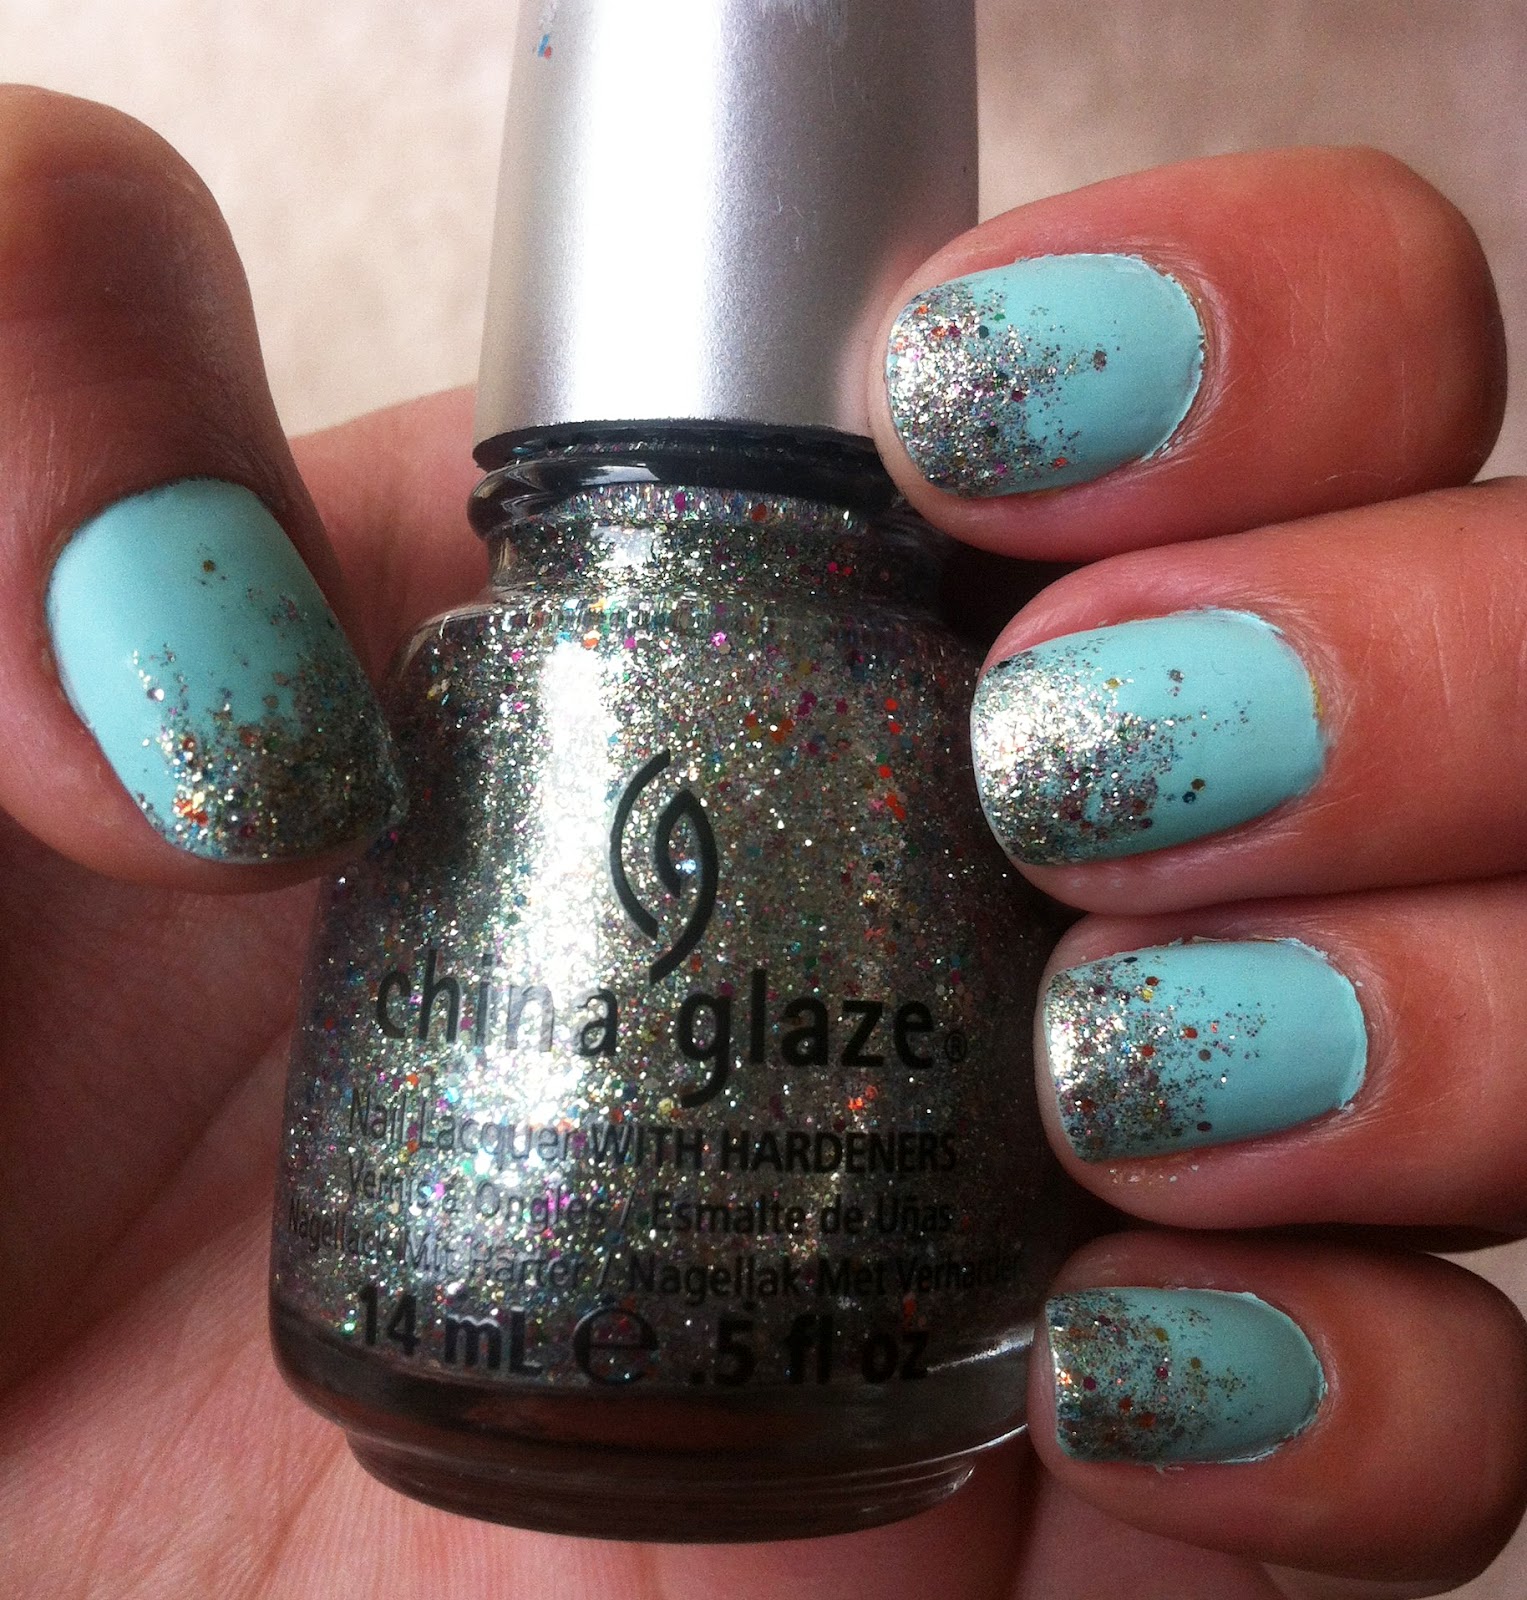
Since I am obsessed with glitter polishes
lately I used a glitter instead of a solid as my tip color. The colors I
used... Base: “Violet Vixen” by L’Oréal Paris. Tip: Gem Crush in “Big Money” by
Sally Hansen.
Other great color combos would be:
- light color base, darker variation of same
color as the tip.
Example: base= pale
blue, tip=navy
Or...........base=
pale pink, tip=bright red
- neutral color base, black or dark brown or
dark grey tip
Example:
base=nude, tip= black (like Kaci’s nails!)
- bright and light base, brighter and darker
tip.
Example: base=neon
yellow, tip= hot pink.
Or..........
base=neon orange, tip=lime green.
I started with the base color I new I wanted
(Violet Vixen) and painted all 10 nails that color. Then I tried the diagonal tip
on just one nail to make sure I liked the color and made sure it turned out
opaque enough to cover the base color. That’s why all my above combo’s have the
lighter color for the base... you want to make sure your tip color completely masks
the base color. The glitter polish I used was very thick and I wanted it to completely
mask the violet... which it did!

So then I moved on to tape all my nails with clear scotch tape (above). It was useful to use this kind of tape because you can see if the tape is rising up anywhere on the nail.. you dont want your tip polish to bleed under the tape! For the most part I tried to leave a little more space for the violet.. I thought it would look nice if the diagonal was closer to the top so it looks more like a tip accent then half and half. I thought half and half might be a little overwhelming on all my nails with that much glitter :)
Dont forget to angle your right hand the opposite direction of your left hand! It looks more symmetrical that way. Above is my right hand after I painted on the Gem Crush polish.
 Now comes the tricky part: peeling off the
tape. I would recommend doing this right after you paint the tips on one
hand... This way you can fix up your messes right away because the polish is
still moldable. In the second picture on the left I am using a nail art stick,
but I found that even a light press of my finger worked just as well. As you
can see in the top picture the tip polish fans up a little bit right where the
tape was.. If you just tap it down with your finger it flattens out and looks
great!
So here is the order of how I did this, it
worked out pretty easy with no mess ups this way:
1. Paint
all 10 nails the base color. Let dry COMPLETELY. Optional: one coat of quick
dry topcoat.
2. Tape
one finger and test out tip color.
3. If
you like it, tape the rest of the fingers on that hand and paint on the tip
color.
4. Remove
tape and press down mess ups, one finger at a time.
5. Paint
on a thick, clear top coat and let dry.
6. Repeat
steps 3-5 on other hand.
Violà ! Here’s a final look at the tilted 2-tone tip technique (say
that 5 times fast haha).